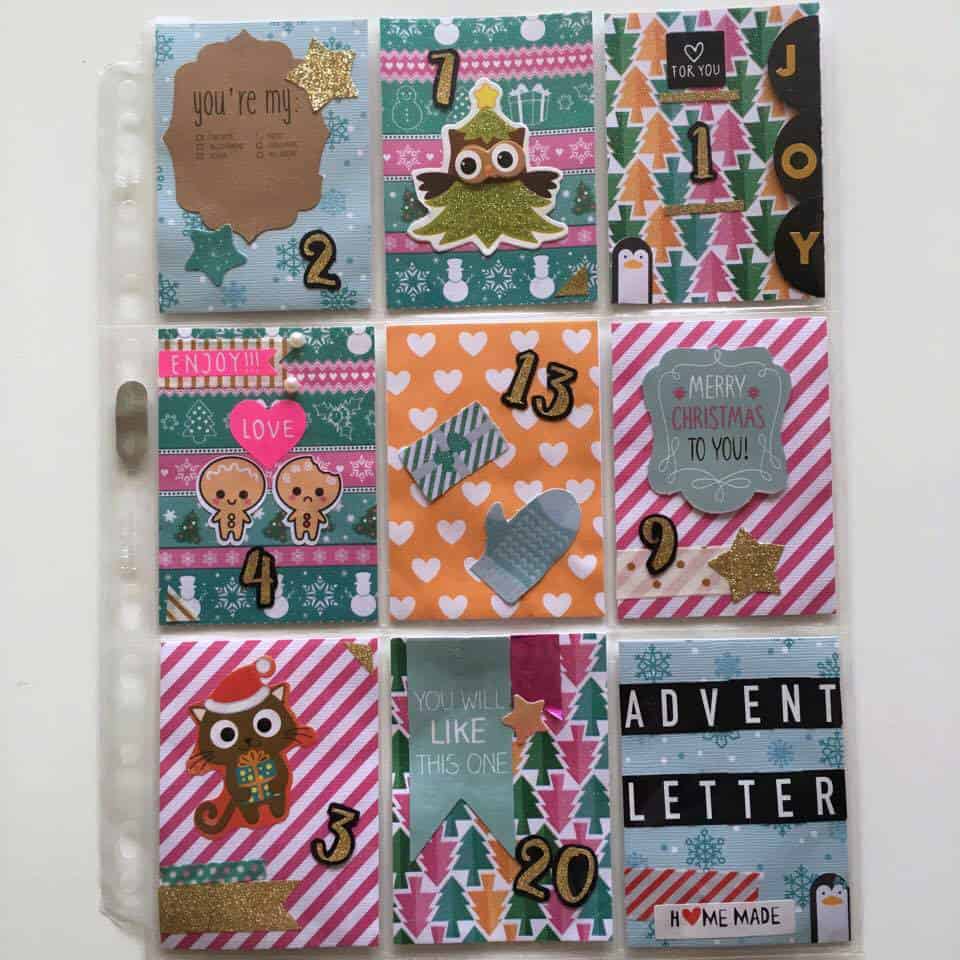
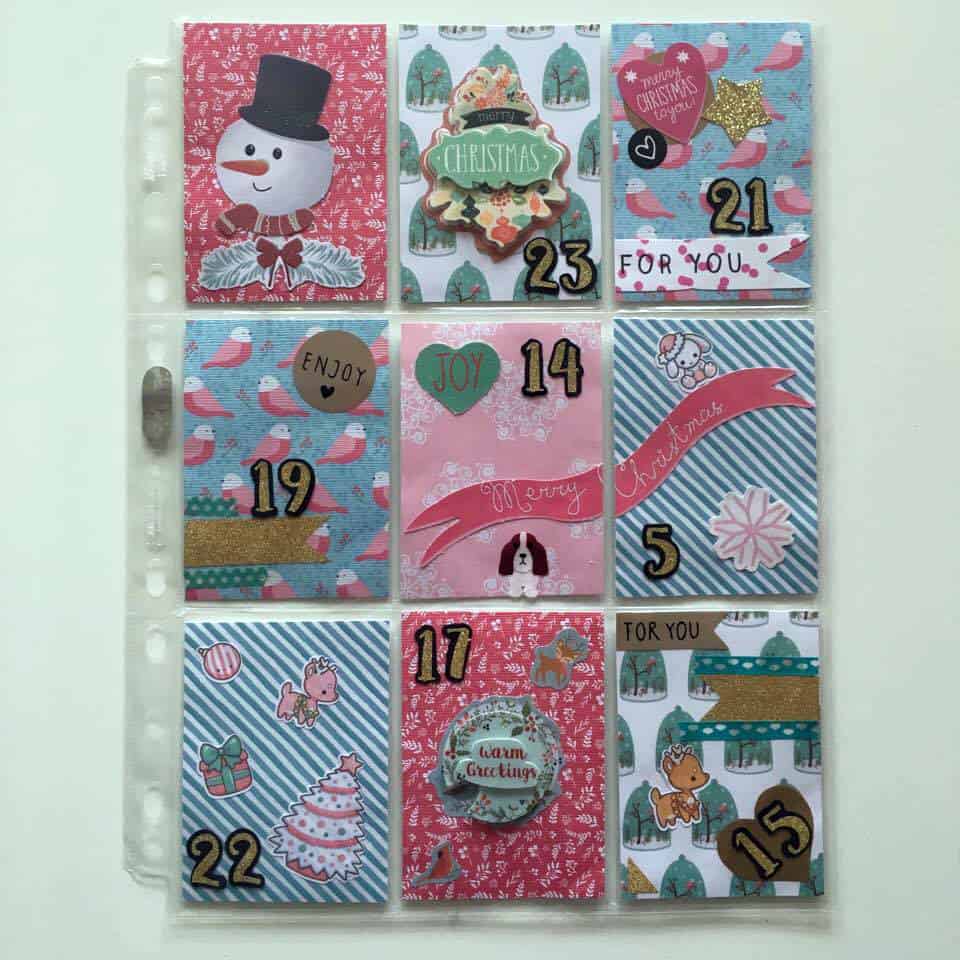
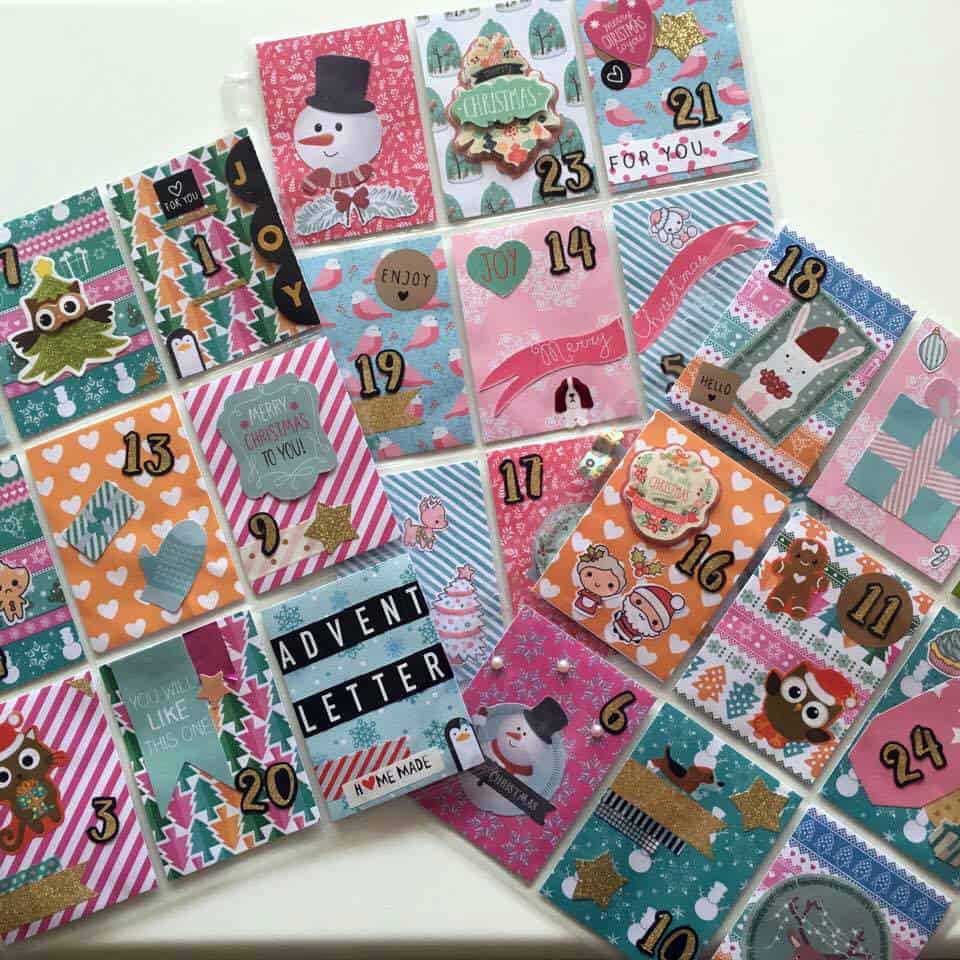
Today I’m going to share with you a little crafty experiment I did for a Happy Mail exchange: a Pocket Letter Advent Calendar. I used 3 pockets sleeves (for a total of 27 cards) to add 24 little advent gifts and spread the stationery fun all month long!
My Mum is a big scrapbooking fan and she’s really crafty, so exchanging Happy Mails seemed like a nice thing to do together. I prepared this pocket letter advent calendar and gave it to her. Funnily enough, she prepared a type of crafty advent calendar for me as well! So we’ll both have something cute to open every day before Xmas!
This article is more here to give you inspiration and ideas rather than describing a clear DIY step by step. You’ll see further down that the steps are pretty self explanatory and anyone can do it!
But for now, here’s a few more pictures to see each page a little better!
Materials:
- 3 Plastic sleeves with 9 pockets in each sleeve: i bought mine all ready to use in France but you can also use a Fuse tool
to create your own.
- Not the actual ones I used, but these will be perfect for pocket lettering (baseball cards sleeve)
- Diverse matching papers that you will trim to fit in your pockets
- Stickers and die cuts to decorate your pockets
- Numbers from 1 to 24 – I placed my numbers in a mixed order, like advent calendar usually are.
- 24 cute flat goodies to include on the back of each pocket
Steps:
Now that I’ve listed the materials, you’ve probably guessed the steps:
- Choose matching papers
- Cut your paper to fit your pockets – you’ll need 27 cards (9 per sleeve x 3 sleeves)
- Decorate each card and add a number (1 to 24) on every card except 3 (i left one card without number on each of my sleeve)
- Add little gifts on the back of each card. Your little surprises will need to be flat to fit in the pocket. Here’s some ideas: stickers, tags, alphabets, paperclips, washi tape sample, die cuts…
I hope you’ll have fun with this idea!
Important note: All the free printables I share on Lovely Planner are only meant for personal use and can at no point be used for commercial purposes.
Disclosure: In order to support this website’s costs, this post contains affiliate links(*), which means that if you make a purchase using one of those links, I’ll receive a small commission.


3 comments
Hello, I don’t know where to click for the download. Please telle me. This projectis so beautiful, Thank you
Hello Denise,
Even though I share lots of freebies on this blog, I sometimes happen to “just” share ideas and inspirations too. This article doesn’t include any printable download. This is why you can’t see any link.
I hope you’ll find it useful anyway 🙂 Have a nice day!
Thank you for all your freebies.. you do such good work….