
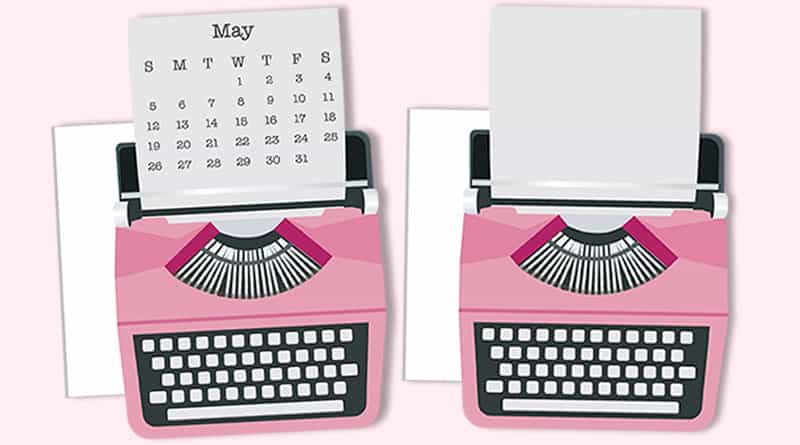
I’ve chosen something fun, new and different for next month’s calendar divider: a cute typewriter die cut! I love seeing it in my planner and I hope you will too!
As per the new routine, I’ve created this calendar divider/die cut + paperclip in two versions: a blank undated one that you can use anytime you’d like (to keep notes, decorate, add any month’s calendar, etc) and a dated version (may 2019) that will help you keep a whole view of the month.
(This post contains affiliate links. For more information, see my disclosures here.)
 Since you were unanimously enthusiastic about the blank PNG version I started including recently I’ll keep on doing that from now on, and will update older dividers progressively too. You can find all the calendar dividers here.
On top of being cute, this calendar divider is also functional. It quickly gives you a whole month view, can help you find your page and is even more helpful to have around if you use an undated planner. Nobody likes to get dates mixed up.
It’s also perfect if you use a bullet journal or travel notebook!
Depending on where you punch your holes and how you place your divider in your planner you can get a different look: visible or not when your planner is closed. Plus, you punch holes yourself so this divider can fit in any type of planner!![]()
Double sided divider:
The PDF file also includes a mirrored verso of the divider.
That means that you can actually have the mirrored divider on the back of your calendar. Glue both sides together before laminating it and punching holes in it!
You don’t necessarily have to use it if you don’t want your divider to be cute on both sides.
Plus, if you laminate your divider, you can use the verso to write important dates!
You can laminate your calendar and use a Staedtler non permanent Lumocolor pen to write important dates, notes or to dos on the back of my calendar ( the side with the blank elephant-verso). What I like about this pen is that it doesn’t smear like a whiteboard pen would. Plus, you can simply erase by swiping it with a wet napkin.
Alternatively you can also use a Staedtler permanent Lumocolor pen , but you’ll need alcohol to rub off your writings. The pens I have are in size F.
Supplies and instructions:
This “DIY” to create your monthly calendar divider is pretty self explanatory but basically, you’ll need:
- thick paper like cardstock paper, or else your divider will probably get flimsy
- printable file
- a printer – check out my best tip to print for free or super cheap
- scissors (or cutting machine) – the shapes are really simple so using scissors is probably just as quick!
- hole puncher

- Optional : a laminator (if you want to keep them clean longer, this will also make them a little stronger)

Before buying anything online, I always check out Ebates (either with the browser extension or on Ebates.com). I find the store name (type it), click the current deal for that store and complete my purchase.
When completing a purchase through Ebates you earn cash back that you can have mailed to you or sent via Paypal.
If you have never used Ebates you’re missing out.
Click here to sign up for Ebates, and RIGHT NOW when you sign up, you will receive a $10 cash welcome bonus when you spend $25.00!
Since you were already going to complete your purchase online, why not get some cash back on things you planned to purchase!
- Download the PDF file, resize if needed
- Print it on cardstock paper
- Cut each shape with your scissors
- Optional: if you want to add the background to the calendar, glue recto & verso together
- Laminate them if you want to
- Enjoy all month long!
If you prefer to use your Silhouette machine, the steps are just slightly different :
- Download the pdf file
- Open the pdf in Silhouette software directly if you have the Designer Edition. If you have the basic software, fear not and turn the PDF into a jpeg first, using this website. You can resize in Silhouette if you want.
- Trace the design
- Use the Print and cut function through your Silhouette software.
- Optional: if you want to add the background to the calendar, glue recto & verso together
- Laminate them if you want to
- Enjoy!
 Download this Free Printable Free Printable Floral Farmhouse Coffee Cup Die Cut or Calendar Divider & Paperclips
Note: I’m including a print ready PDF file (2 pages: dated & blank undated) and an undated PNG version (that you can/should resize) of the design in case you’d like to use this printable for a different month or for a different use (die cut, divider, digital planner, etc). Simply download the file you need.
FAQ:
- My favorite planner supplies
- Discover my best printing tip: How to print for free or super cheap?
- Tips and tools to easily turn PDF printables into planner stickers
How to download this file?
- Not a subscriber yet? Some of my free printables are for newsletter subscribers only (it’s totally FREE of course!). The monthly calendar dividers are some of them. Subscribe to my newsletter to get free access to exclusive free printables and stay updated.
- Existing subscribers – forgot your password? Make sure to check one of my emails to you, the password is reminded at the end of each newsletter. No caps, no space.
If you like this freebie, pin this image for later!
 FOR PERSONAL USE ONLY – Please Read Freebies Terms of Use.
Don’t forget to also have a look at other planner freebies I shared on the blog!
If you use this free printable planner calendar divider and paperclips, I’d be happy to see what you do with it! Feel free to comment down bellow, tag me/follow me on instagram (@lovelyplannerblog) or use the hashtag #lovelyplanner 🙂
I create lots of free printables, if you want to make sure to be updated and receive exclusive freebies, join the Lovely Newsletter: Disclosure: This page may contain affiliate links. When you click them you support Lovely Planner and help keep its content free. Thank you!
2 comments
This is adorable and I love that you included the reverse! Thank you so much!
Fantastico come sempre. Sei bravissima. Grazie