24 days of FREE printables – DAY 4
Welcome back for day 4 of the Lovely Advent Calendar! Christmas season is such a fun and magical time. I thought that you wouldn’t mind having an extra, digital advent calendar to discover a new, surprising little gift every day. So here I am!
Everyday until Christmas Eve, I’ll share with you a free printable on this blog.
Here’s today free printable!
December 4: DIY Mr & Mrs first christmas ornament with vinyl – Silhouette cut file
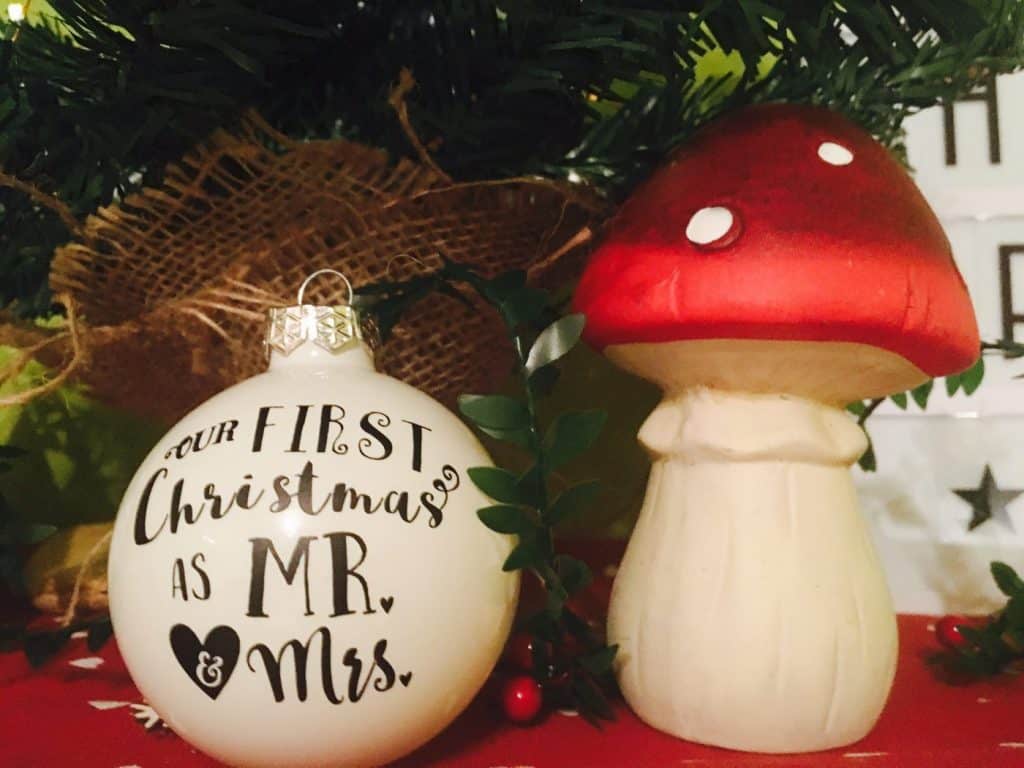
Today’s freebie is a little different but it’s a DIY I was so happy to create myself that I thought others might like it as well: I’m sharing with you a Silhouette cut file I created to make a “Our first Christmas as Mr&Mrs” tree ornament.
Even though december has already started, it’s never to late to add such a cute piece on your Christmas tree or offer it to your Mr or Mrs. I got married in April 2016 to Mr Lovely, so I really wanted to create a keepsake of this special milestone. I looked online for design inspirations, worked in my Silhouette software and a craft session later, I had my Christmas ornament.
Materials and tips
If you want to make one too, all you’ll need will be:
- a Christmas ornament of your choice
- mine is “normal sized” I would say, not specifically big or small and my design fitted perfectly (dimensions of the design are about 5x5cm) on mmy ornament, so if your ornament is a “normal” size, i suggest you keep the design just like that. If you have a bigger or smaller ornament, your may want to adjust the size of my design in your Silhouette software.
- Vinyl of your choice
- I used black Oracal 631
but any can do I believe
- I used black Oracal 631
- The Silhouette cut file (download below)
- Transfer tape
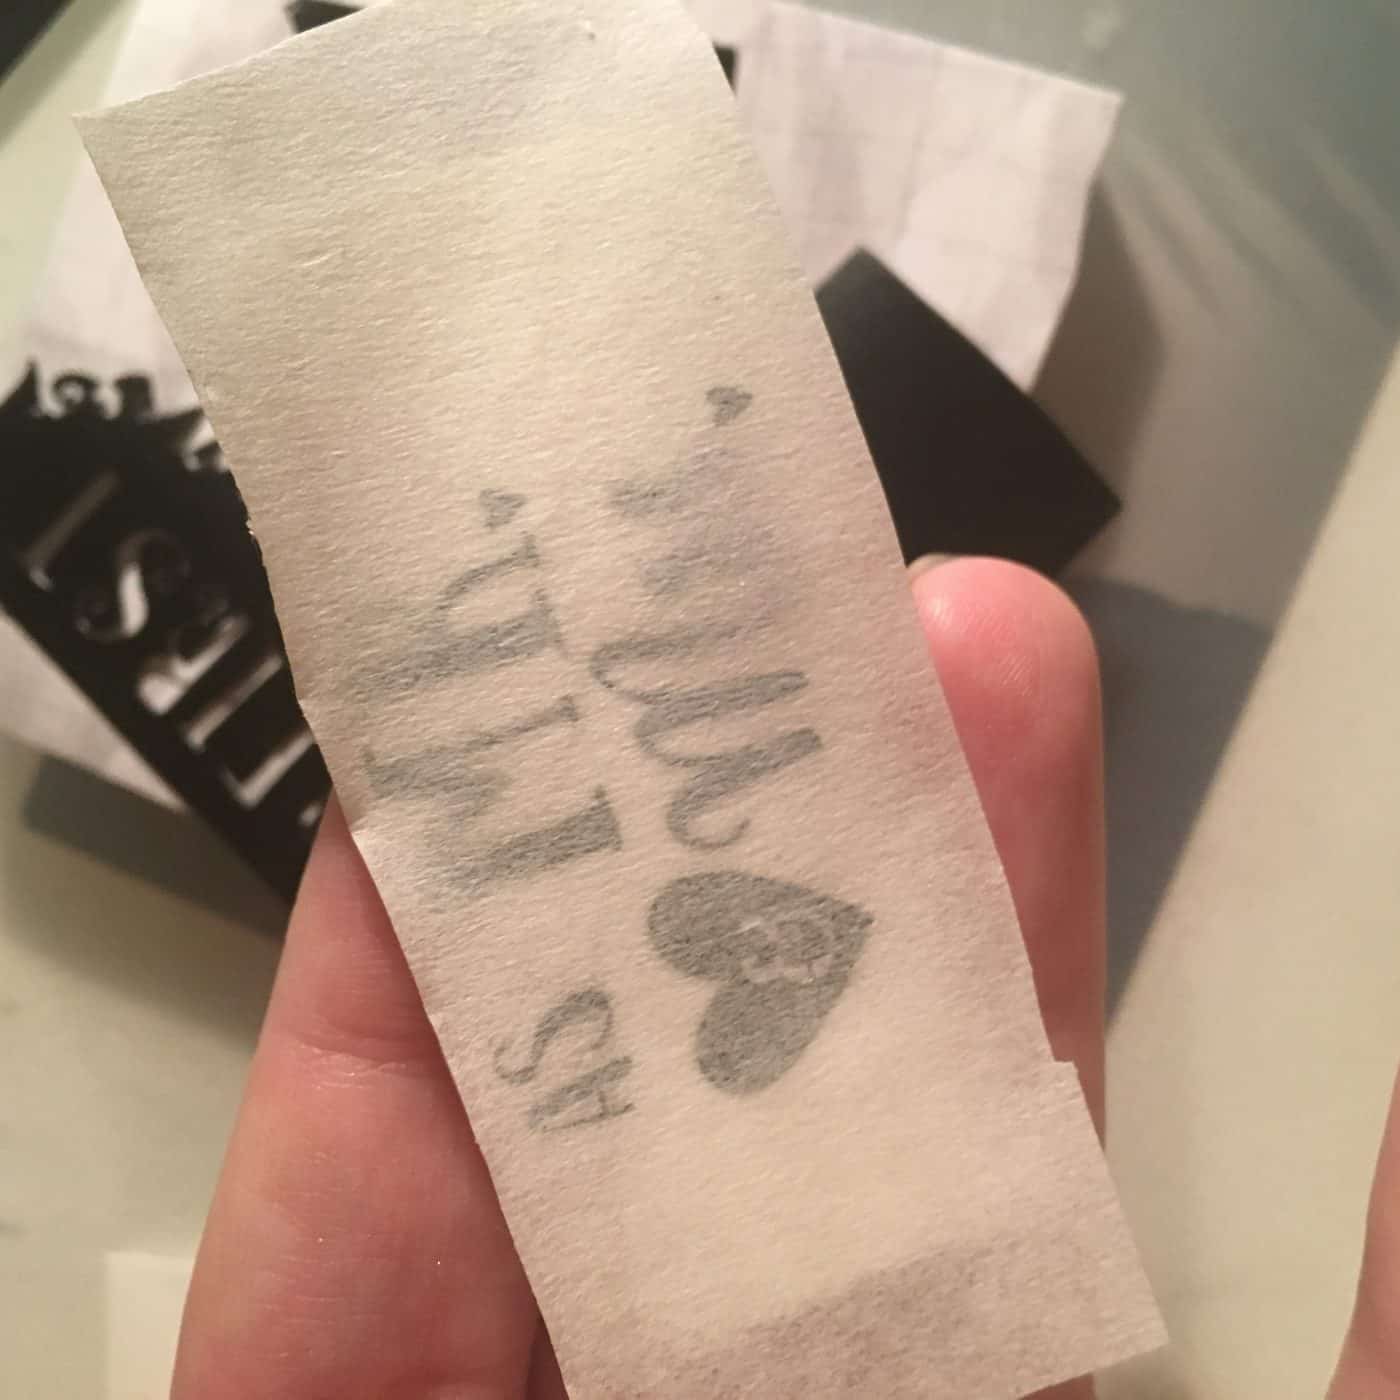
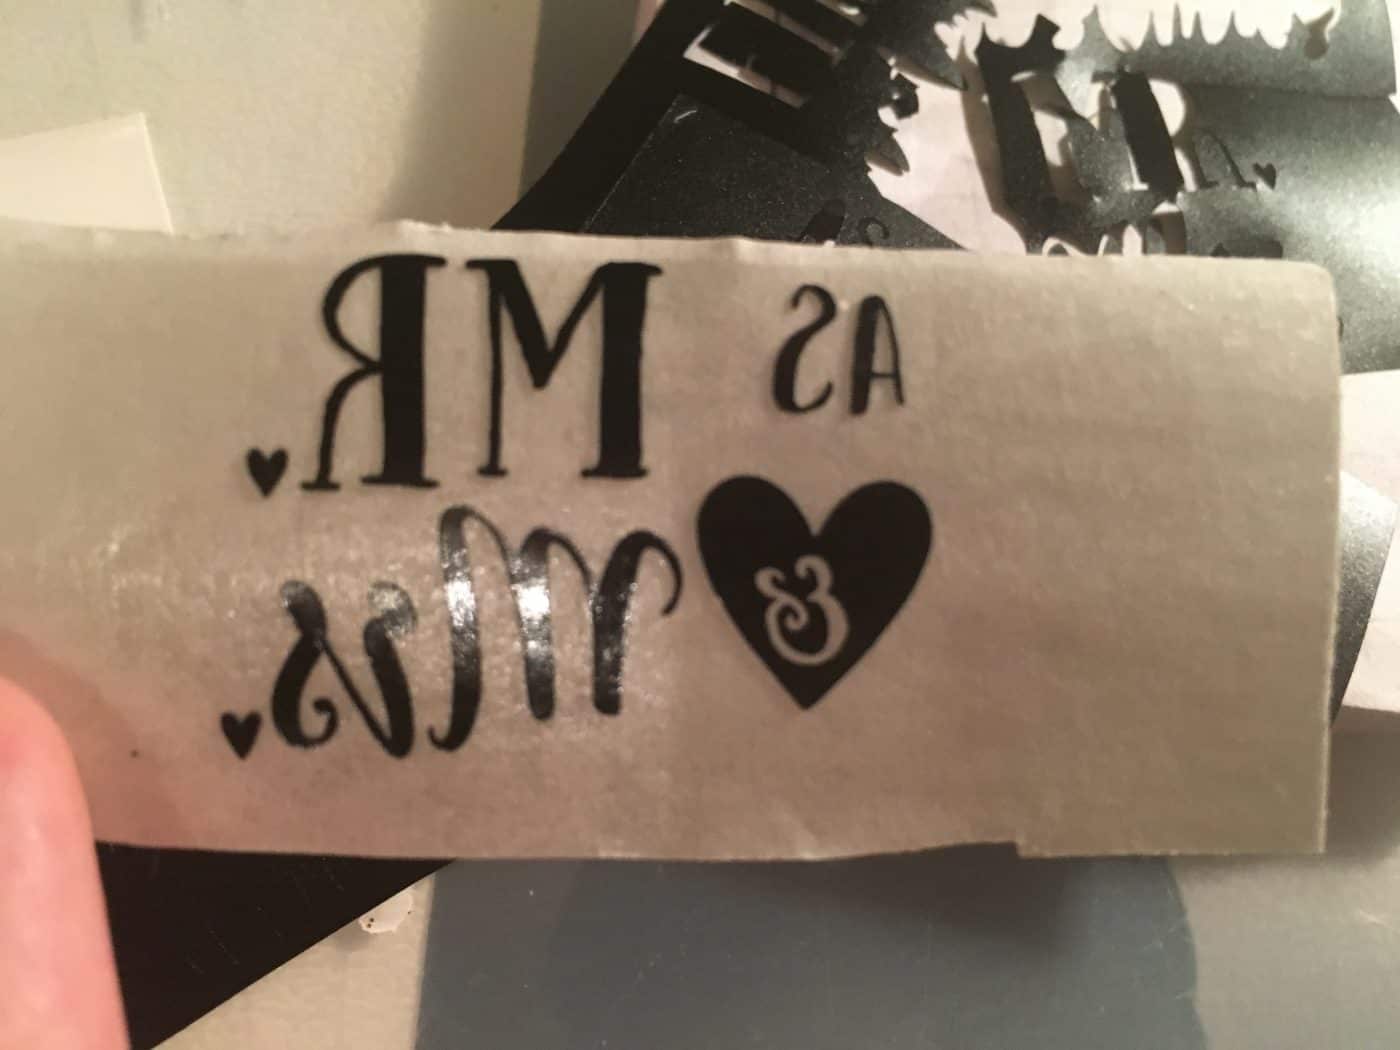
will really help you transfer your delicate design (optional, it’s doable without it, but if you have some, you’ll be happy to use it!)
To be honest, on top of this material I felt like this DIY required quite a bit of patience too: the design is in the end pretty small and fairly detailed so you’ll need to take your time and be patient when weeding your design and transferring it onto your ornament. That’s where transfer tape comes handy!
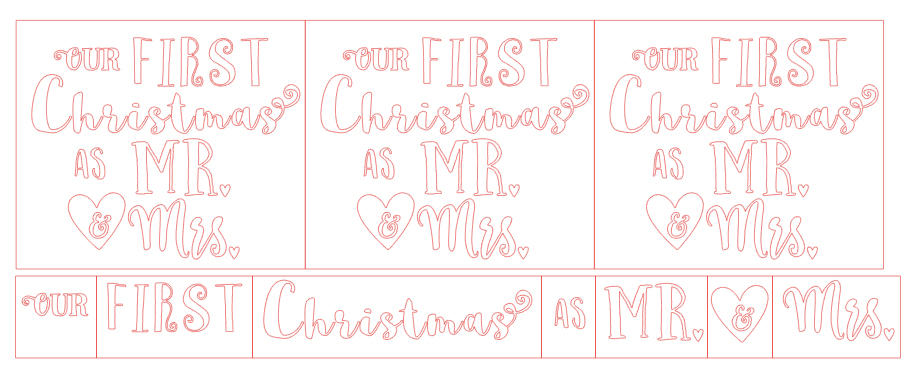
To make it all less stressful and easier I included the design 3 times on my cutting file. This way, I had 3 chances to mess it up a little bit. When you’re dealing with little vinyl pieces, it often happens that one letter or some pieces get lost or doesn’t detach properly. So, by cutting your design more than once on your vinyl, you let yourself some space to work with. If you lose one detail from your first sticker, you can still pick up this detail from another sticker.
I’m not sure my explanations are making sense, but trust me, you’ll see what I mean when you’ll get started weeding and transferring your vinyl haha
I learned from my little experience and added an additional element on the cutting file for you that I believe could help (i didn’t try using it again, since my ornament was already done): i’ve placed each word in an individual square so that instead of weeding the whole design at once, you have smaller squares to weed, which is easier. But then, you’ll have to replace them as best as you can on your ornament. Once more, if this sounds complicated to you, fear not, just open the file and you’ll see what I’m talking about.
Honestly, anyone can do it, you’ll just need to take your time and be patient. If it helps you understand what I mean above, here’s a preview of the file.
 Download this Mr & Mrs Christmas ornament cut file
Please note: when you download this freebie, there will be no PDF included, just a Silhouette Studio 3 file. That means you need the Silhouette machine to be able to do this DIY, sorry.
Download this lovely freebie – Silhouette cut file
If you use this freebie, I’d be happy to see what you do with it! Feel free to comment down bellow, tag me/follow me on instagram (@lovelyplannerblog) or use the hashtag #lovelyplanner 🙂
Important note: All the free printables I share on Lovely Planner are only meant for personal use only and can at no point be used for commercial purposes, modified or claimed as your own.
Disclosure: In order to support this website’s costs, this post contains affiliate links, which means that if you make a purchase using one of those links, I’ll receive a small commission.


 Download this Mr & Mrs Christmas ornament cut file